Downsizing my Milling Machine
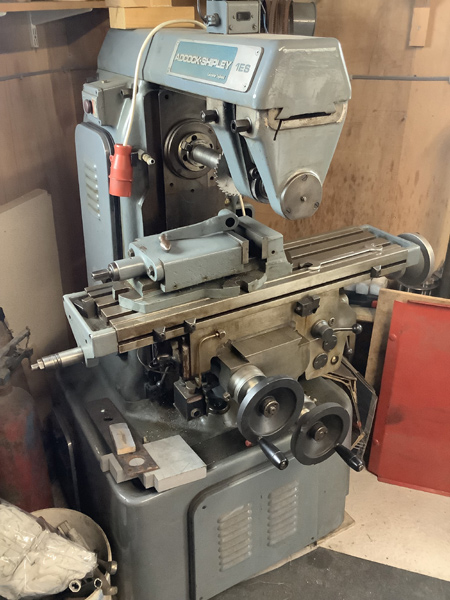
I've had the Adcock Shipley 1ES for well over 25 years now and it has done some sterling work in that time. One drawback is the (very heavy) vertical head. When fitted, this reduces the useable travel on the Z axis (the throat) particularly if using a swivel vice or rotary table or when machining a tall component. I made the decision to sell the machine and a whole lot of cutters of all shapes and sizes, plus arbors, chucks and a boring head.
When we moved here 20 years ago, I had made a couple roller skids for moving the two big machines, so using my hydraulic spreader, I was able to get the miller onto wooden blocks in order to fit these skids under, lower it down and roll it to the workshop doors. A farmer friend then came with his Manitou 'Load-All' and lifted it on to the waiting trailer of the new owner, quite an easy operation with the right equipment, for a machine weighing nearly a ton!
Quite a lump
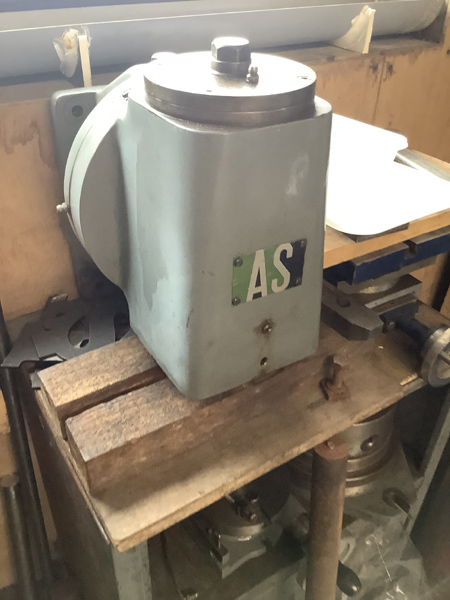
The very heavy vertical head
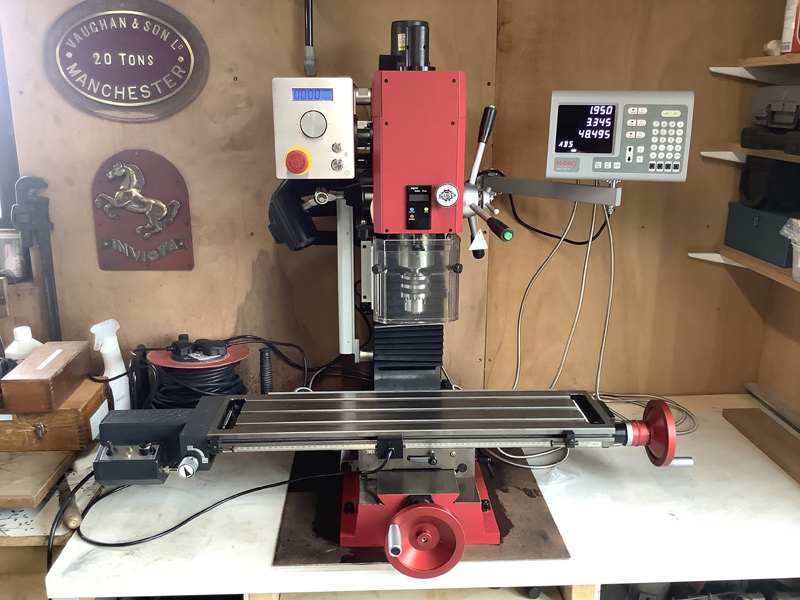
By rearranging the layout of the workshop, I have made room for a new Sieg vertical machine which will be mounted on a sturdy bench top. This particular machine (a Sieg SX3.5 ZP) has power traverse to the X axis, powered positioning of the head on the Z axis, a 1000w brushless motor with toothed belt drive and a whole host of other useful features. Also available separately, is a dedicated 3 - axis DRO with large control panel from 'Machine DRO' with all fittings to suit this machine. That would certainly make life a bit easier and I'm really tempted to get one.
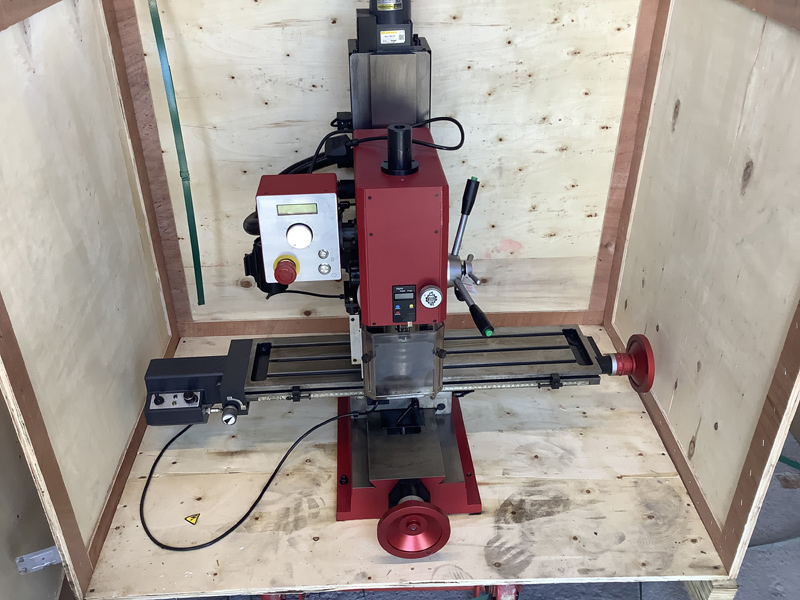
The unboxing process
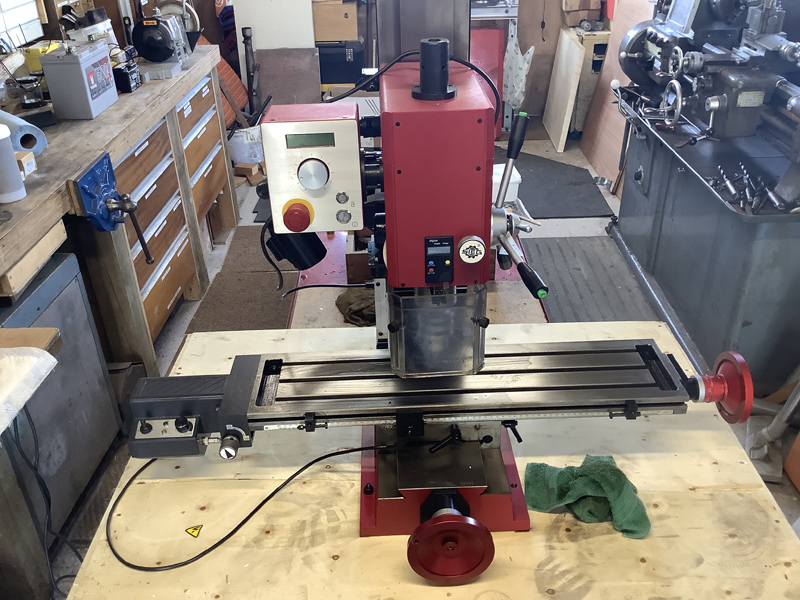
Still sitting on the hydraulic bench
Years ago, I toyed with the idea of buying a full-blown Bridgeport miller and even looked at quite a few but now at my age, this is an acceptable alternative and should prove easier to move on after I have! The spindle on the Sieg uses an R8 fitting, so I will have to procure suitable tooling, as all of my other stuff was 40 International taper. My very useful clamping kit (Sealey/Clarke type) also went with the old machine as the Tee slots on the new machine are 12mm wide, not 14mm, so a new replacement kit is on order from RDG Tools. I intend making a substantial cupboard unit with a top drawer for tools, to support the whole thing securely. The new machine weighs less than 200kg but no doubt the support system will be over engineered!
I have managed to find an Auto-lock chuck with imperial and metric collets, which has an R8 taper and that should arrive soon. There's not much else I would need really but an R8 to Morse taper 3 adaptor will be on the list - they are available new at a reasonable price. I suppose a boring head wouldn't go amiss either, the 40 International one I let go with the 1ES did get occasional use, mostly in horizontal mode. I kept a few of the smaller diameter slitting saws and quite a few end mills and slot drills from the old machine - that still left more than enough for the new owner. I'll see how I get on with the new set-up - I think it will actually get more use than the old one, without the chore of cutter and arbor removal, then sliding the overarm back to fit the vertical head whenever that kind of job was needed.
I was given an unused 3 metre length of worktop and already had most of the other stuff to make a decent support with a drawer and cupboard for the tools, so that was the first part of the project. I also had piece of 3mm steel sheet for the machine to sit on and this was drilled to accept the mounting bolts and then glued down to the worktop so it would stay in place when finally positioning the rather heavy machine. Even the ply packing-box sides have been re-used around the cupboard unit. Meanwhile, the new machine had been sitting on its original packing base-board on top of my motorcycle workbench since its arrival, so getting it to the right height for sliding onto the new 'bench' would be easier using hydraulics rather than muscle power.
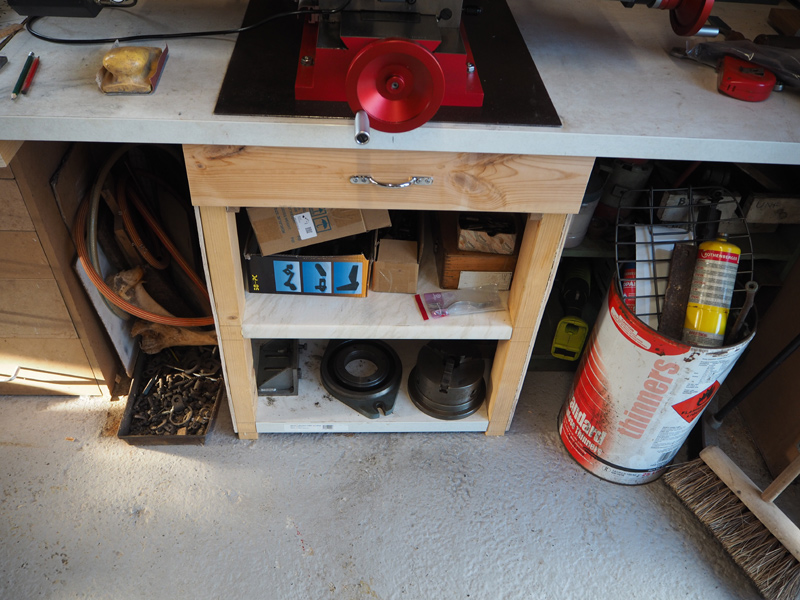
Useful space under the machine - just needs a door making
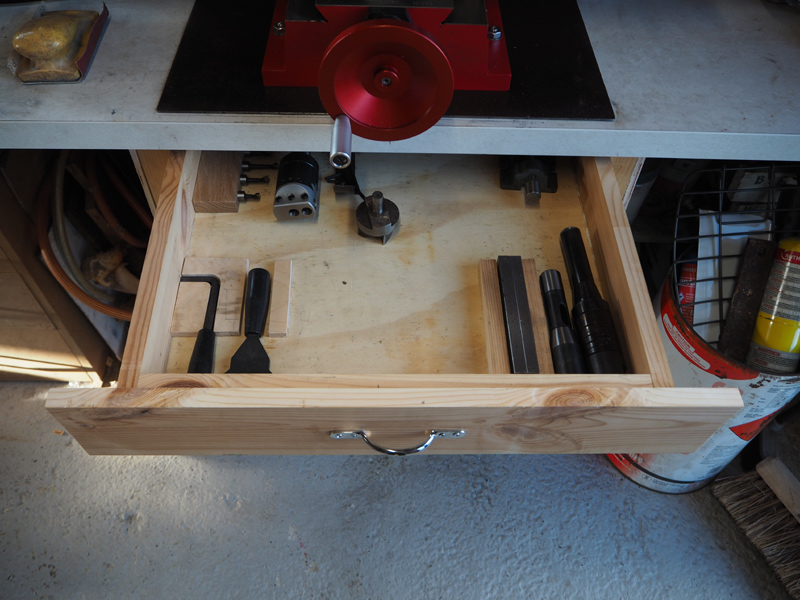
Starting to arrange tools in the drawer
Whilst it was on the bike bench, I have had it running and most of the features have been tested and I've got to say that so far I'm really impressed with it - time will tell though, when it starts producing swarf!
Sources of equipment:
SIEG Machine. Arc Eurotrade
Clamping kit. RDG tools
DRO Kit. Machine DRO
R8 Auto-lock chuck
R8 to MT3 adaptor
R8 to 1" short arbor
R8 Boring head set
Set of Vertex Parallels
All from Richard Brown at Project Machinery
The 3 axis DRO was relatively easy to fit, with very detailed instructions but needed lots of careful measurement and a large number of mostly M4 but a few M5 and M6 threads putting into the machine castings.
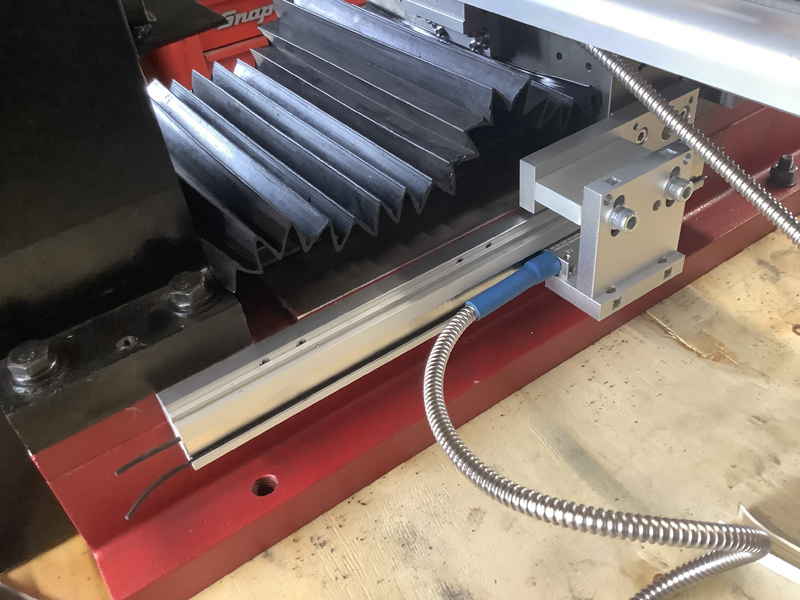
DRO on the Y Axis
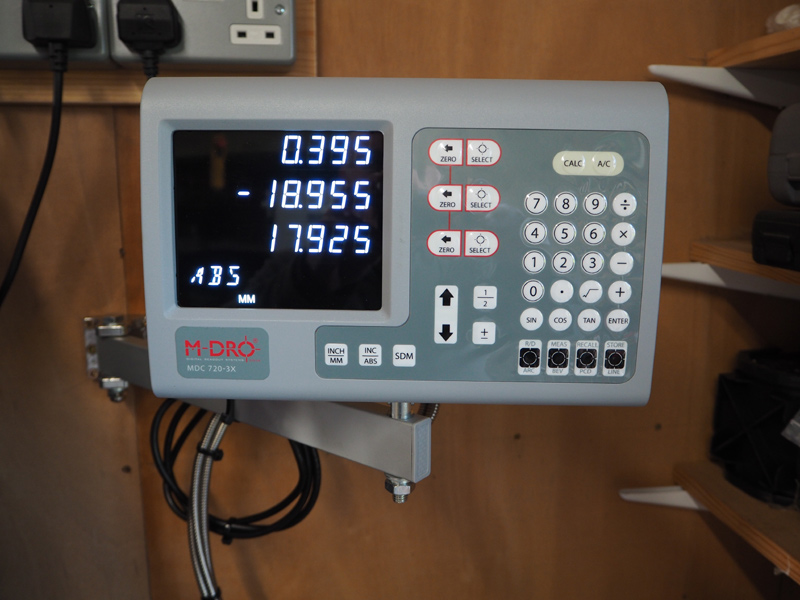
The very clear multi-function DRO display
When all was fitted and tested it was time to transfer it to its new home on the recently constructed bench. This was made very easy by tilting the whole machine to one side and sliding another big piece of well greased 3mm steel sheet under it and lowering it back down. This process coincided with a visit from two friends who needed a motorcycle cylinder barrel accurately measuring. Needless to say, they 'volunteered' to help shift the machine, which was quickly rotated on the steel sheet, slid carefully off the bike bench and into position on the drilled sheet (also well greased) and secured with the four mounting bolts. No fingers were trapped or hernias produced during the whole operation, so we all retired for a well deserved cuppa! Thanks Leslie and Alistair!
The temporary power supply
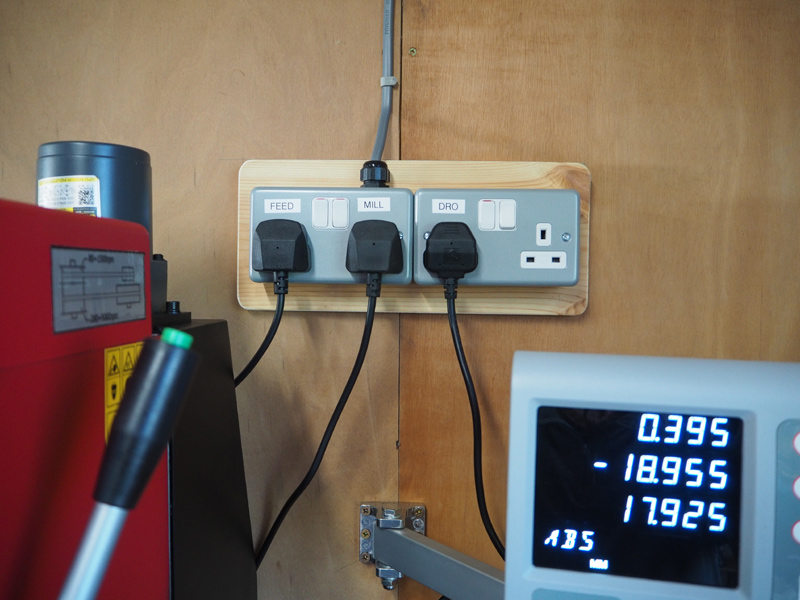
.....and a more permanent solution